
Skyline Trail Loop
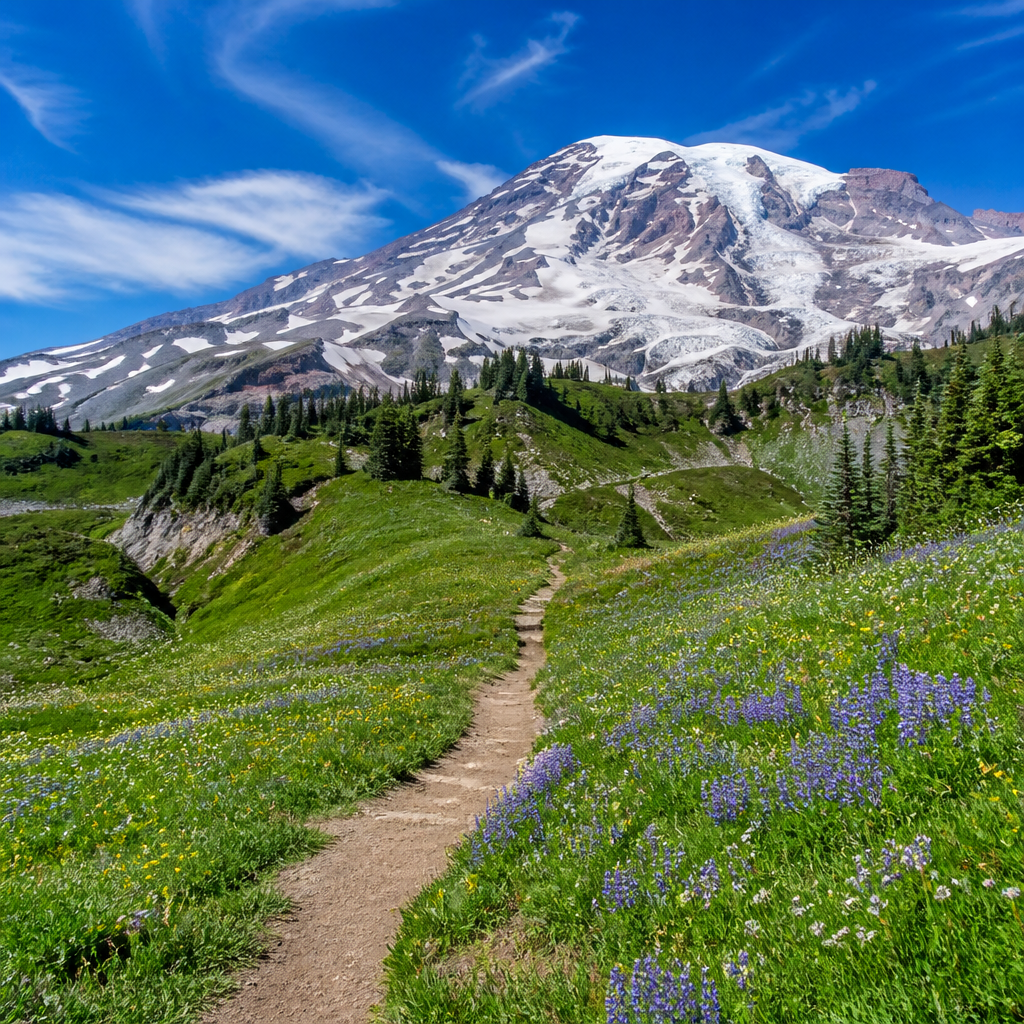
This is arguably the greatest day hike in the Cascades, a breathtaking tour of alpine splendor. Ascend through world-famous wildflower meadows onto the glaciated flanks of a 14,410-foot volcano, with panoramic views that redefine the word 'epic.'
- Difficulty
- hard
- Distance
- 5.5 mi
- Elevation gain
- 1700 ft
- Permit
- Not required
Why It's Special
The Skyline Trail is more than a hike; it's an immersion into the raw, powerful beauty of the high alpine. Beginning at the Paradise visitor center, the trail immediately confronts you with the overwhelming presence of Mount Rainier, an active stratovolcano that dominates the landscape. Unlike many mountain hikes that culminate in a distant view, the Skyline Trail puts you directly on the mountain's shoulder, tracing a path alongside the immense Nisqually and Paradise Glaciers. You'll hear the crack and groan of ancient ice and cross streams milky with glacial silt, tangible reminders of the powerful forces at play.
The hike is a journey through multiple ecosystems. You climb from subalpine meadows, which erupt into a world-class display of wildflowers in mid-summer, into a stark, rocky world of tundra and permanent snowfields. The vantage point from Panorama Point, at roughly 6,800 feet, is a highlight. On a clear day, the view is a staggering theater of geology, offering sightlines to the entire Tatoosh Range below and fellow Cascade volcanoes like Mount Adams, Mount St. Helens, and even Mount Hood in Oregon, all shimmering on the southern horizon. It's a full-sensory experience that combines the delicate beauty of avalanche lilies with the monumental scale of a glaciated peak.
Best Season
The prime season for hiking the Skyline Trail is relatively short, typically running from late July through late September. This window offers the best chance for a snow-free trail and coincides with the peak wildflower bloom, which usually occurs in early August. Attempting the trail earlier is possible but presents different challenges.
From late June to mid-July, expect to encounter significant, steep snowfields. While beautiful, this requires navigation skills, as the trail can be completely obscured. Trekking poles and microspikes are essential for safety during this period. The upside is fewer people and the unique beauty of the landscape in its transition from winter to summer.
By October, the crowds have thinned and autumn colors appear in the meadows. However, the weather becomes highly unpredictable, with a significant chance of early season snowstorms that can close the road to Paradise or make the trail treacherous. Always check the park's official trail and weather reports before heading out, regardless of the season.
Logistics
Getting There: The trailhead is located at the Henry M. Jackson Memorial Visitor Center in the Paradise area of Mount Rainier National Park, about a 2.5-hour drive from Seattle.
Permits & Fees: You will need to pay the Mount Rainier National Park entrance fee. Additionally, for the 2024 summer season and beyond, a timed entry reservation is required to enter the Paradise Corridor during peak hours (typically 7 a.m. to 3 p.m.). These reservations are bookable on a rolling basis on Recreation.gov and are essential to plan for, as you cannot enter the park's most popular area without one.
Parking: The parking lot at Paradise is large but fills up extremely early, often by 8 a.m. on summer weekends. Arriving before 7 a.m., visiting on a weekday, or planning an afternoon/evening hike after 3 p.m. are the best strategies to secure a spot.
Route Direction: Most hikers recommend tackling the loop in a clockwise direction. This sends you up the steeper, more direct trail towards Panorama Point first, keeping the most dramatic views of the volcano in front of you during the ascent. The descent via the western half of the loop offers gentler grades and stunning views of the Tatoosh Range.
Pro Tips
- Start Early, Go Clockwise: Beat the crowds, secure parking, and give yourself plenty of time. Hiking clockwise puts the strenuous climb first and the mountain's best face forward.
- Embrace the Layers: Weather on the mountain is notoriously fickle. A sunny start can devolve into cold wind, fog, and rain in minutes. Pack a waterproof shell, an insulating layer, a hat, and gloves, even on a perfect-looking day.
- Sun Protection is Non-Negotiable: At this altitude, the sun is intense. The trail is almost entirely exposed, and sunlight reflecting off snowfields can cause severe burns. Use high-SPF sunscreen, wear a wide-brimmed hat, and bring quality sunglasses.
- Stay on the Trail: The meadow ecosystems are incredibly fragile and take centuries to recover from damage. Please respect the signs and stay on designated paths or durable surfaces like rock and snow. The park heavily fines off-trail travel in the meadows.
- Bring Traction for Early Season: If hiking before late July, do not attempt the steep snow slopes without microspikes and trekking poles. A slip and fall in the wrong place can have serious consequences.
- Wildlife Etiquette: You will almost certainly see chubby, delightful marmots. Photograph them from a distance, but never feed them or any other wildlife. It's harmful to them and illegal.
Must-use gear on Skyline Trail Loop
Field-tested picks matched to this terrain. Links are affiliate — they keep the field guide free at no extra cost to you.

Two-way satellite messaging and an SOS button the size of a key fob. If you hike alone, you want this.

The only sock with a true lifetime guarantee. Merino blend, perfect cushioning, zero blisters across hundreds of miles.
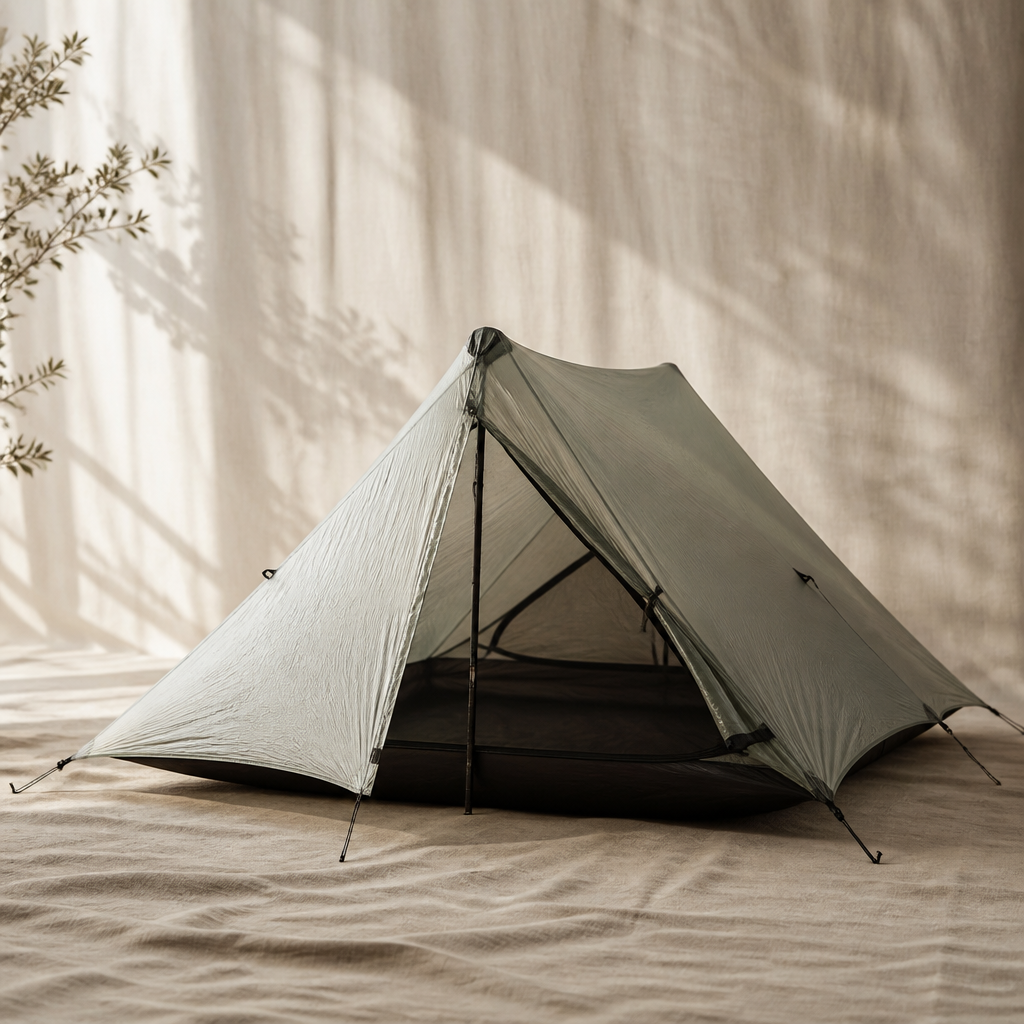
The Durston X-Mid Pro 2 redefines what's possible in an ultralight, two-person trekking pole shelter, offering palatial space and storm-worthy performance at a staggeringly low weight. By utilizing Dyneema Composite Fabric and a brilliant offset pole design, it delivers exceptional livability without the typical compromises of minimalist shelters.
Recommended footwear for this terrain

The best all-around day-hiking boot we tested in 2026. Light, grippy Contagrip outsole, dialed lacing, waterproof without feeling like a sauna.
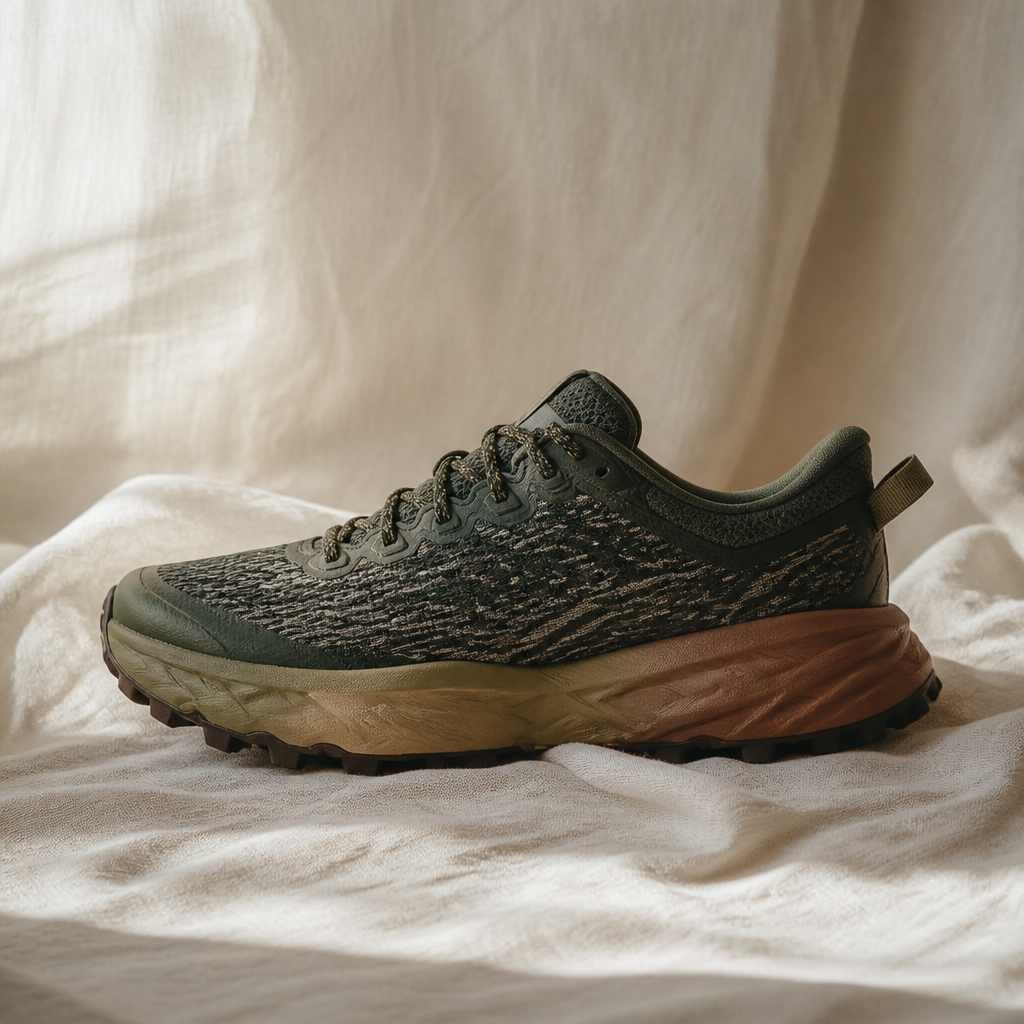
The HOKA Speedgoat 5 continues its reign as a trail-running and hiking favorite, offering unparalleled cushioning for an exceptionally comfortable ride over long distances. Its redesigned Vibram Megagrip outsole with Traction Lugs provides tenacious grip on the most demanding technical terrain, making it a go-to for serious adventurers.
Best hydration for this trail
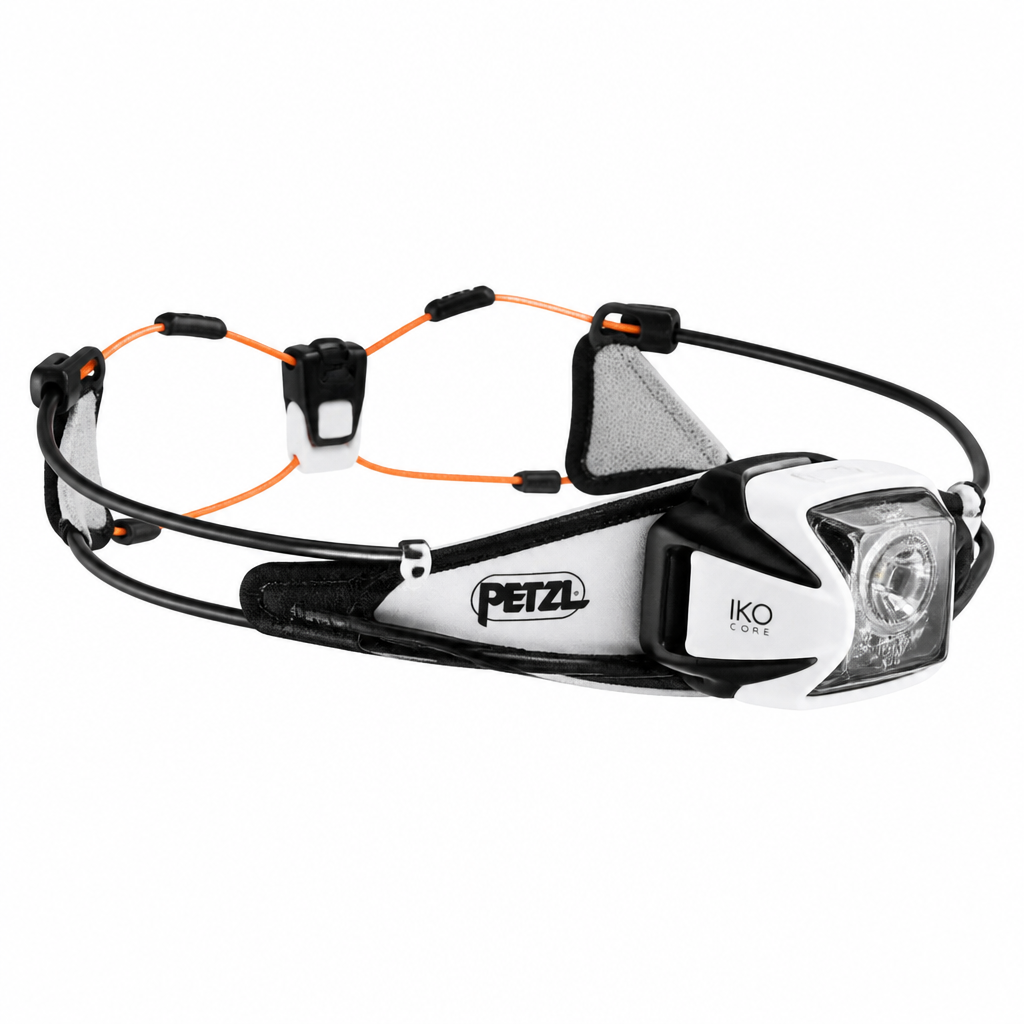
The Petzl Iko Core is a revolutionary rechargeable headlamp that challenges traditional design with its ultra-light, semi-rigid AIRFIT headband. It offers exceptional comfort and balanced weight distribution, making it nearly unnoticeable during high-output activities like trail running and fastpacking.
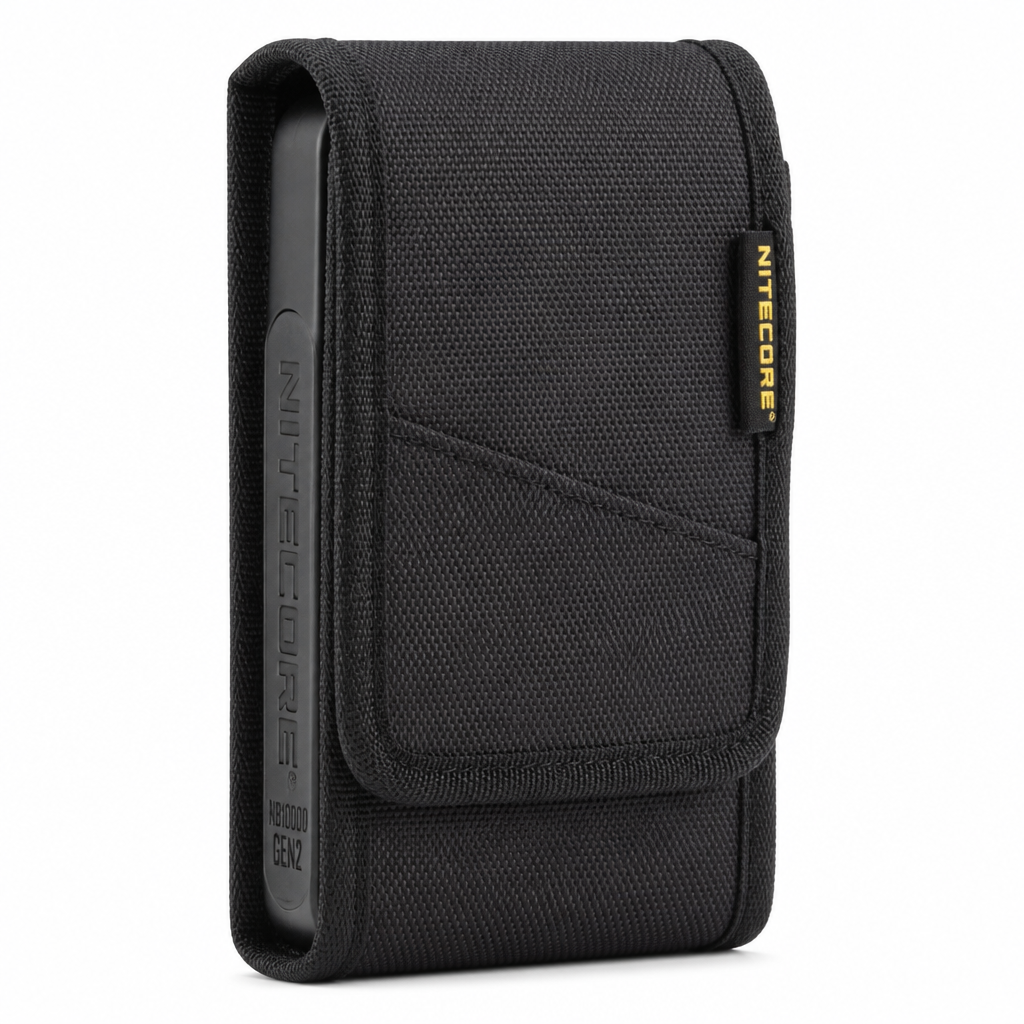
The Nitecore NB10000 Gen 2 is the gold standard for ultralight power banks, packing a massive 10,000mAh capacity into a carbon fiber frame that weighs a mere 5.3 ounces. It's the go-to choice for thru-hikers and weekend warriors who need to keep essential electronics charged without adding punishing weight.