The Thaw Ritual: A Pre-Season Gear Shakedown
As the trails open up, it's time for the essential ritual of the season: pulling your gear from the closet. This is our expert guide to cleaning, repairing, and optimizing your kit for the adventures ahead.
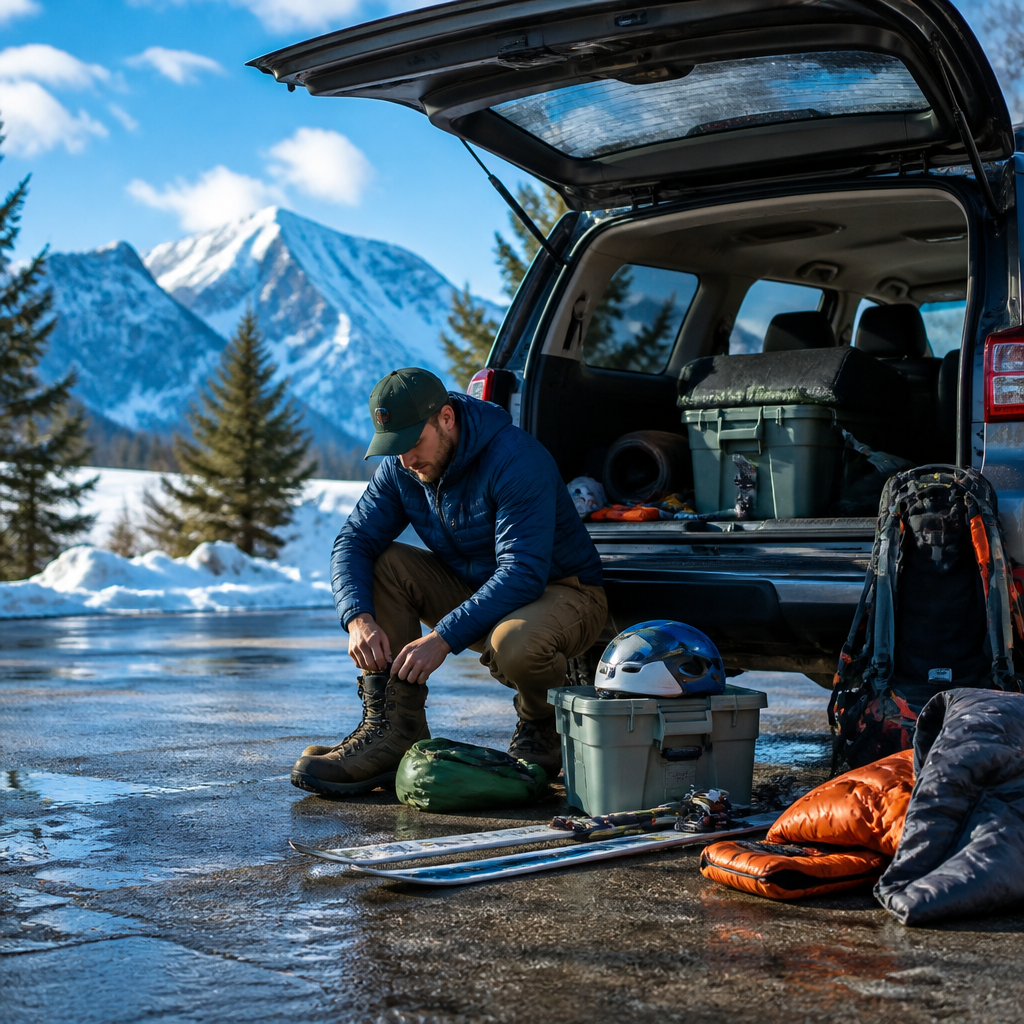
There’s a specific feeling that arrives with the first truly warm day of late spring. It’s a shift in the air, a scent of damp earth and new leaves, and for those of us who love the outdoors, it’s a palpable call. The mountains, silent under a blanket of snow for months, are beginning to stir. Your pack, dormant in the closet, feels it too. Before you answer the call and rush out the door, there’s a vital ritual to perform: the pre-season gear shakedown.
This isn't a chore; it's a reconnection. It's the first step of your next journey, a chance to handle the tools that keep you warm, dry, and safe, and to get your head back in the game. Taking an afternoon to spread everything out, to take inventory of fabric and function, is to pour a foundation of mindfulness for the entire season. Let’s begin.
The Cleansing: From Grime to Gleam
Your gear works hard. It weathers unexpected downpours, deflects abrasive branches, and endures a fine coating of trail dust and campfire smoke. Paying it back with a proper cleaning isn't just about aesthetics; it's about performance. Dirt, sweat, and oils can clog the pores of waterproof-breathable membranes, turning your expensive rain jacket into a personal sauna.
Start with your outerwear. Wash your shells and rain pants using a technical detergent like Nikwax Tech Wash or Grangers Performance Wash. Never use conventional laundry soap, which can strip an item's DWR (Durable Water Repellent) finish. Tumble dry on low heat (if the manufacturer's tag allows) to help reactivate the water-repellent coating.
Next, turn to your tent and sleeping bag. Never put them in a top-loading washing machine. Instead, unfurl your tent in the yard, gently brush off any caked-on mud, and spot-clean with a sponge and cold water. Let it air dry completely before packing it away. For your sleeping bag, air it out for a full day. If it’s truly funky, hand-wash it in a bathtub with a specialized down or synthetic wash, a laborious but necessary process for reviving loft and restoring warmth.
The Mending Circle: Repair and Revitalize
During your cleaning, you'll inevitably find the small battle scars of last season’s adventures: a tiny pinhole in your puffy jacket from a stray ember, a frayed strap on your pack, a sticky tent zipper. Now is the time for triage.
Minor tears in fabrics are your chance to become a field-repair hero. A roll of Tenacious Tape is one of the most valuable items in any repair kit. It can patch holes in tents, rain gear, and insulated jackets with a near-permanent, waterproof seal. Cut a circle (no corners to peel up), clean the area with an alcohol wipe, and press the patch on firmly.
Examine your tent poles for any stress fractures, especially at the joints. Check your pack for any seams that are beginning to pull apart. Lubricate zippers on your tent and outerwear with a zipper-specific product to ensure they run smoothly when you’re fumbling in the dark. For bigger jobs—a massive tear or a broken backpack frame—don’t be afraid to call in the professionals. Most major gear companies have excellent repair departments that can bring your beloved gear back from the brink for a reasonable fee. This is stewardship in action.
The Audit: What Stays, What Goes?
Here comes the moment of truth. Lay out all the gear you would typically pack for a three-day summer trip. Be honest. Now, pick up each item and ask two simple questions: Did I use this last year? Does it bring me joy or security?
This is where you make the crucial shift from cold-weather to warm-weather packing. That heavy fleece, 0-degree bag, and four-season tent can go back into storage. It's time for lightweight layers, a quilt or a lighter sleeping bag, and a well-ventilated shelter. Look at your cook system. Can you switch from a complex stove to a simple, light canister stove for boiling water?
Every ounce you don't carry is energy saved for enjoying the view. Think about redundancies. Do you need a full multi-tool and a separate knife? Probably not. The goal isn’t to be uncomfortably minimalist, but to be intentionally lightweight. If an item doesn't serve a critical function for safety or comfort, consider leaving it behind. At the same time, if you spent all last season wishing you had a small inflatable pillow, maybe this is the year you grant yourself that small luxury.
Repacking with Purpose
Once your gear is clean, repaired, and curated, the final step is to pack it with intention. Don't just stuff it all in and hope for the best. Use stuff sacks or packing cubes to organize your kit into logical systems: a bag for clothes, a bag for your cook kit, a bag for electronics. This not only makes things easy to find but also helps with weight distribution.
Line your backpack with a trash compactor bag as a cheap, durable, and completely waterproof liner. Pack heavy items like food and water close to your spine and in the middle of your back. Stuff your sleeping bag in the bottom compartment, and keep your snacks and rain gear in the top lid or an outer pocket for quick access.
Stepping back to look at your neatly packed bag is a moment of deep satisfaction. It's no longer a pile of inanimate objects, but a self-contained life-support system, an ark of possibility ready for the adventures ahead. Your season has already begun.