
The Art of the Descent: How to Train for Hiking Downhill
Most hikers focus on building cardio for the uphill climb, but mastering the descent is the real key to preventing injury and finishing your adventure strong. Here’s how to train for it.
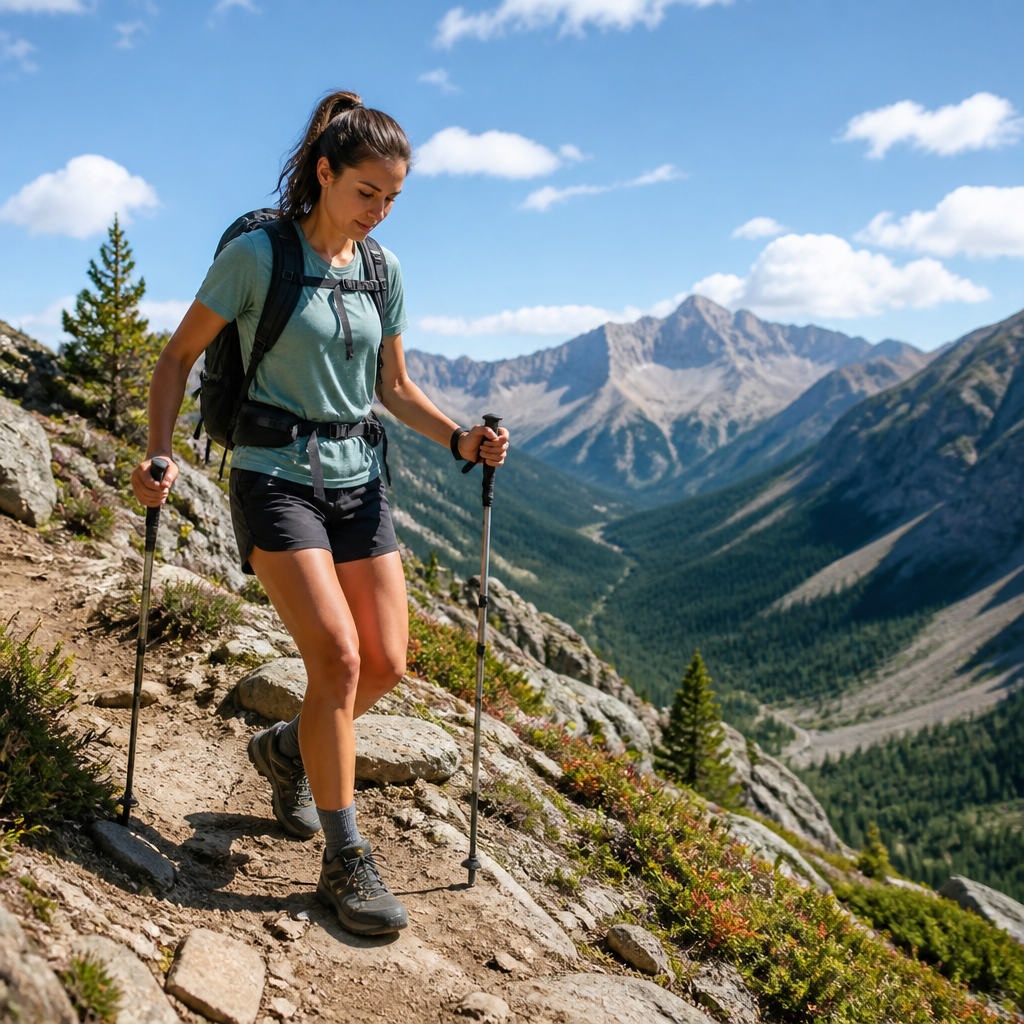
We’ve all been there. You’ve summited. The view is a soul-stirring panorama, a reward paid in sweat and grit. You snap photos, share a well-earned snack, and bask in the glorious feeling of accomplishment. But then, a quiet thought creeps in: you’re only halfway done. The car is thousands of feet below, and the long, punishing descent awaits.
For most adventurers, training for a big hike means one thing: preparing for the uphill. We log miles on the StairMaster, seek out the steepest local hills, and focus relentlessly on building cardiovascular endurance. While that’s essential, it’s only half the equation. The overlooked, often-dreaded descent is where joint pain flares, injuries happen, and next-day soreness is born. Mastering the art of the descent isn't just about avoiding pain; it's about reclaiming the joy of the entire journey, from trailhead to summit and all the way back again.
The Downhill Dilemma: Why It's Harder Than You Think
Going uphill is a concentric movement—your muscles shorten as they contract to propel you upward. It’s a power-generating motion. Going downhill, however, is all about eccentric contraction. Your muscles, particularly your quadriceps and glutes, are lengthening while under load, acting as brakes to control your momentum against gravity.
Think of it like lowering a heavy weight slowly instead of lifting it. This braking action is incredibly taxing. It generates significantly more force on your joints—up to seven to eight times your body weight on your knees—and causes microscopic tears in your muscle fibers. These micro-tears are the primary culprit behind Delayed Onset Muscle Soreness (DOMS), that familiar, can’t-walk-down-the-stairs-the-next-day feeling that often feels worse than any fatigue from the climb itself. Without proper training and technique, your knees, hips, and ankles take a relentless pounding, turning the triumphant walk back to the car into a grim death march.
Building Your Downhill Armor: Key Exercises
To conquer the descent, you need to prepare your body for its unique demands. This means incorporating eccentric-focused strength training into your routine. The goal is to build muscle and tendon resilience to absorb impact and improve stability. You don’t need a fancy gym; many of the best exercises can be done with just your body weight.
-
Tempo Squats: The classic squat is great, but to train for descents, slow it down. Focus on the negative portion of the movement. Lower yourself to a count of four or five seconds, pause for a second at the bottom, and then explode back up to the starting position. This emphasizes the eccentric contraction, building strength and control.
-
Box Step-Downs: This is perhaps the most direct simulation of hiking downhill. Stand on a sturdy box, bench, or step. Slowly lower one foot to the ground, tapping your heel lightly before returning to the start. The key is to control the entire movement with the leg that remains on the box. Keep your hips level and avoid just dropping to the floor. As you get stronger, you can hold weights or increase the box height.
-
Eccentric Heel Drops: Your calves and Achilles tendons also work overtime as stabilizers. Stand with the balls of your feet on a step. Push up with both feet into a calf raise. Then, lift one foot off the step and slowly lower the other heel below the level of the step. This isolates the eccentric load and is a fantastic way to build resilience against shin splints and tendon strain.
-
Lunges: Forward, reverse, and walking lunges are all excellent for building single-leg strength and stability, which is critical for navigating uneven, rocky terrain. As with squats, focus on a slow and controlled descent into the lunge.
Taking It to the Trail: Technique Matters
Strength is one piece of the puzzle; technique is the other. Once you're on the trail, how you move can make all the difference.
-
Use Trekking Poles: Think of them as a set of portable handrails. Poles transfer a significant amount of weight from your legs to your upper body, reducing impact and providing crucial stability points.
-
Shorten Your Stride: Over-striding and locking your knee on impact sends a shockwave straight up your leg. Instead, take smaller, more deliberate steps, keeping a slight bend in your knees at all times. This “soft knees” approach allows your muscles to act as shock absorbers.
-
Stay Stacked: It’s tempting to lean way back when the trail gets steep, but this puts you off-balance and increases the braking force on your quads. Try to keep your center of gravity—your torso and hips—stacked over your legs. A slight hinge at the hips is fine, but focus on staying balanced and athletic.
-
Use Micro-Switchbacks: Don’t just bomb straight down the fall line. On wider sections of trail, use a gentle S-curve to lessen the grade and give your joints a break.
Ultimately, training for the descent is an investment in your own enjoyment. By preparing your body and refining your technique, you transform the downhill from a necessary evil into a confident, controlled, and even enjoyable part of the experience. You’ll finish your hike not with wobbly knees and a sense of relief, but with energy to spare and a smile on your face, already dreaming of the next summit. See you on the trail—on the way up, and all the way back down.