How to Prevent Blisters Hiking: Your 2026 Guide
Stop letting painful blisters ruin your hikes. Our 2026 guide breaks down the pro-level gear and techniques you need to keep your feet happy on the trail.
You know the feeling. The final miles of a spectacular hike, the alpine glow painting the peaks, but all you can think about is the searing, pulsing pain in your heel. A perfectly good adventure, soured by a bubble of angry skin. A blister isn't just a minor annoyance; it's a trip-ender. But it doesn't have to be your story. Preventing blisters isn't luck—it's a system. And by the end of this guide, you'll have the exact system the pros use to keep their feet pristine, mile after epic mile.
The Blister-Free TL;DR: Your blister prevention strategy comes down to four key pillars: 1) Perfectly fitted, broken-in footwear. 2) A high-quality wool sock system. 3) Pre-taping known hotspots before you start hiking. 4) Stopping immediately to treat any friction points the second you feel them.
Why Blisters Happen: The Unholy Trinity
To defeat the enemy, you must understand it. Blisters are the result of three factors working together in the dark, sweaty confines of your boot: Friction, Moisture, and Heat.
- Friction: This is the primary culprit. As your foot moves inside your boot—even minutely—the skin rubs against your sock and boot lining. This shear force causes the outer layers of skin (the epidermis) to separate from the inner layers (the dermis). The body responds by filling that gap with fluid (serum) to cushion the damaged tissue, and voila: a blister is born.
- Moisture: Whether from sweat or a missed rock-hop in a creek, moisture is friction's best friend. Wet skin is softer, more fragile, and far more susceptible to damage from rubbing.
- Heat: A hot foot swells, increasing pressure and friction inside the boot. Heat also makes your feet sweat more, compounding the moisture problem.
Your goal is to systematically dismantle this trio. Here’s how.
Step 1: Dial In Your Footwear System
Your first line of defense is what you put on your feet. Getting this wrong is the most common rookie mistake.
Your Boot Isn't a Trophy, It's a Tool
The stiff, burly leather boots of yesteryear aren't always the best choice. Today's market is full of lighter, more breathable options. Consider trail runners (like the Hoka Speedgoat or Altra Lone Peak) for most three-season hiking. They require less break-in, breathe better (reducing heat and moisture), and are lighter, which means less fatigue.
Regardless of your choice, fit is non-negotiable. Go to a reputable outfitter in the afternoon when your feet are slightly swollen. Wear the type of socks you'll hike in. A good fit means your heel is locked securely in place to prevent rubbing, but you have a thumb's width of space between your longest toe and the end of the boot. Your toes should be able to splay and wiggle freely.
Break Them In. Seriously.
Never, ever take a brand-new pair of boots on a long hike. The "break-in period" allows the boot to mold to your unique foot shape and helps you identify potential hotspots before they become a problem. Start by wearing them around the house, then on short walks, and finally on a few shorter hikes with a weighted pack. This process can take 20-50 miles for stiffer boots.
Consider Aftermarket Insoles
The stock insoles that come with most boots are flimsy placeholders. A quality aftermarket insole like those from Superfeet or SOLE provides better arch support and heel cupping. This stabilizes your foot, reducing the subtle slipping and sliding that causes friction.
Step 2: Master Your Sock System
Socks are just as important as your boots. This is not the place to cut corners.
Cotton is Rotten, Wool is Gold
Repeat after us: never hike in cotton socks. Cotton absorbs moisture like a sponge and holds it against your skin, creating the perfect environment for blisters. Modern Merino wool is the undisputed king of hiking socks. It wicks moisture away from your skin, regulates temperature (warm when wet, cool when hot), and is naturally antimicrobial. Brands like Darn Tough and Smartwool offer legendary performance and durability. Darn Tough's lifetime guarantee is no gimmick—they are the last socks you'll need to buy.
The Two-Sock Method: Myth or Magic?
For some hikers, particularly those with very blister-prone feet, a two-sock system is a game-changer. The concept involves wearing a thin, snug, synthetic liner sock (like WrightSock Coolmesh II) directly against your skin, with your main wool hiking sock over it. The theory is that friction now occurs between the two sock layers, rather than between the sock and your skin. It's worth experimenting with on your training hikes.
Keep Them Dry, Keep Them Clean
On a long day or multi-day trip, always pack at least one extra pair of hiking socks. At your lunch break, take your boots and socks off and let your feet air out for 15-20 minutes. If your socks are damp, swap them for the dry pair. You can hang the damp ones from your pack to dry as you walk. Clean, dry feet are happy feet.
Step 3: Pre-Hike Foot Prep
A little work the night before and the morning of your hike pays huge dividends.
Trim Your Nails
Keep your toenails trimmed short and filed smooth. A nail that's too long can repeatedly jam into the front of your boot on descents, leading to painful pressure, bruising, and even the dreaded black toenail.
Pre-Tape Your Hotspots
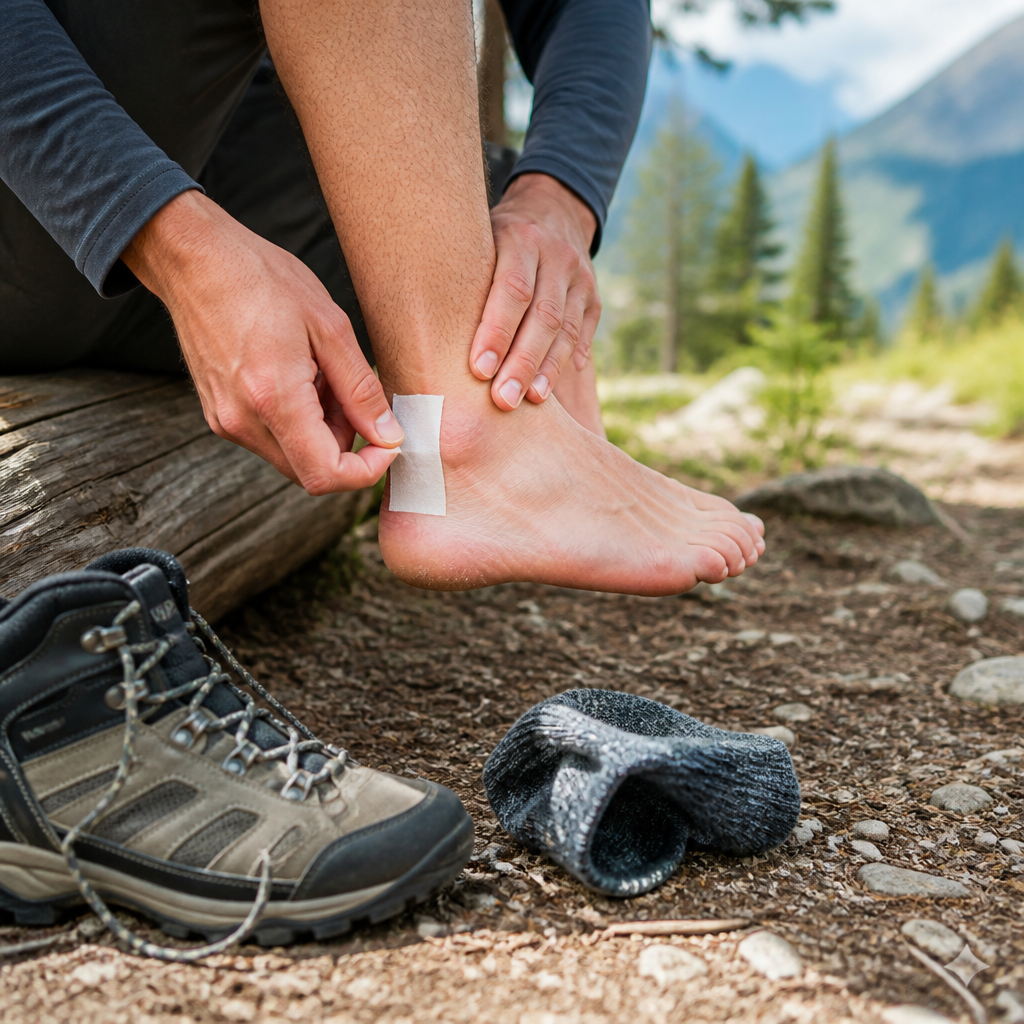
If you know you're prone to blisters on your heels, the ball of your foot, or your pinky toes, apply tape to those areas before you even put your socks on. This creates a durable, low-friction barrier. The undisputed champion for this job is Leukotape P, a ridiculously sticky athletic tape that stays put for days, even when wet. Apply it directly to clean, dry skin, making sure to smooth out any wrinkles.
Consider Lubricants or Powders
Some hikers swear by anti-chafe balms or creams. Products like Trail Toes or HikeGoo create a slick, frictionless surface that can be very effective, especially in wet conditions. Apply a thin layer to your entire foot before putting on your socks. Alternatively, a sprinkle of foot powder can help manage moisture.
Step 4: On-Trail Hotspot Management
Even with perfect prep, you might feel a dreaded hotspot begin to form. Your response in this moment is critical.
Stop. Immediately.
This is the single most important rule. Don't tell yourself, "I'll just get to the top of this climb." The moment you feel a slight warming or rubbing sensation, stop. Take your pack off. Find a rock to sit on. A 5-minute stop now will save you days of pain later.
Address the Issue
Take off your boot and sock. Let your foot air out for a minute. If the area is just red and irritated, make sure it's dry and apply a piece of Leukotape or moleskin. If a blister has already started to form but is not broken, the best treatment is a hydrocolloid bandage like a Compeed pad. It will cushion the blister and create a clean, moist healing environment. Do not put tape directly on a formed blister, as ripping it off will tear the skin. Put a small pad on it first, or use a gel bandage.
Check Your Lacing
Sometimes a hotspot is a sign that your foot is moving around too much. Is your heel lifting on climbs? Try re-lacing your boots using a surgeon's knot or a heel lock technique to secure your ankle and heel without cutting off circulation to the rest of your foot.
Essential Gear for Blister Prevention
Your daypack should always contain a small, dedicated foot care kit.
| Product Category | Best For | Why We Picked It |
| :--- | :--- | :--- |
| Prevention Tape | Pre-taping known hotspots | Leukotape P is ultra-sticky and durable. It forms a second skin that doesn't budge. |
| Blister Treatment | Cushioning formed blisters | Compeed hydrocolloid bandages cushion the blister, relieve pain, and promote healing. |
| All-Purpose Cushion| Hotspot padding, general use | Moleskin can be cut to size to create a 'donut' around a blister or cover a hotspot. |
| Anti-Friction | Wet conditions, ultra-distance | Trail Toes cream is a thick, waterproof lubricant designed for extreme endurance events. |
Our Top Picks for 2026
- Best Overall Tape:
Leukotape P- Simply the stickiest, most reliable tape for prevention. It stays on for days, through river crossings and sweaty climbs. A small roll is a must-have.
- Best Blister Treatment:
Compeed Advanced Blister Care- When a blister has already formed, these are magic. They act as a hydrocolloid cushion that feels like a second skin, providing instant pain relief and a sterile healing environment.
- Best All-Around Sock:
Darn Tough Hiker Micro Crew Cushion- The perfect balance of cushion, durability, and moisture management. Made in Vermont with a lifetime guarantee, they are the industry standard for a reason.
- Best Anti-Friction Cream:
Trail Toes: Foot and Body Cream- Born from the ultra-running world, this stuff is formulated for the longest distances. A thin layer on your feet before a hike can make a world of difference, especially in wet and humid climates.
Common Blister Prevention Mistakes to Avoid
- Being a Hero: Ignoring a hotspot is the #1 cause of severe blisters. Stop and treat it.
- Wearing Cotton: Cotton socks are a blister factory. Ban them from your hiking wardrobe.
- The "Out of the Box" Hike: Taking new, unbroken-in boots on a major hike is asking for trouble.
- Popping Blisters (Usually): Popping a blister opens it up to infection. The fluid inside is sterile. Leave it intact unless it's so large and tense that it's guaranteed to pop on its own. If you must, use a sterilized needle, drain it from the base, and treat it as an open wound.
Your feet are your single most important piece of gear. They are your vehicle to the wild, beautiful places you want to see. By implementing this system of smart footwear choices, proactive preparation, and immediate on-trail care, you can relegate blisters to a distant memory.
FAQ: Blister Prevention
Q: Should I pop a blister on the trail?
A: It's best to avoid it. The skin of the blister is a sterile barrier protecting the wound underneath from infection. If you can, cushion it with a Compeed patch or a moleskin donut and let it be. Only drain a blister if it's large, extremely painful, and preventing you from walking. If you must, use a needle sterilized with an alcohol wipe or a flame, make a small prick at the base, gently drain the fluid, apply antiseptic, and cover it securely.
Q: What's the difference between moleskin and Leukotape?
A: Think of Leukotape for prevention and moleskin for protection. Leukotape is a thin, highly adhesive tape you apply before a hike to prevent friction on known hotspots. Moleskin is a thicker, softer felt used to cushion an already-sore spot or a formed blister (often by cutting a 'donut' shape to place around it).
Q: Do trail runners cause fewer blisters than hiking boots?
A: Not necessarily, but they often can. Trail runners are typically more breathable (reducing moisture and heat) and have a much shorter break-in period. Because they are more flexible, they often conform to the foot better, reducing friction points. However, a poorly fitting trail runner will give you blisters just as fast as a poorly fitting boot. Fit is always the most important factor.
Q: How tight should my hiking boots really be?
A: The goal is snug, not tight. Your foot should feel secure, especially in the heel and midfoot, to prevent it from sliding forward on descents. You should be able to wiggle your toes freely. A good test is to put the boot on unlaced and slide your foot forward until your toes touch the front. You should be able to comfortably slip one finger (about 1/2 inch) between your heel and the back of the boot.