Blister-Proof Your Feet: A Hiker's 2026 Guide
Nothing ruins a long hike faster than a blister. Our 2026 guide shows you how to prevent blisters with the right gear, prep, and on-trail tactics.
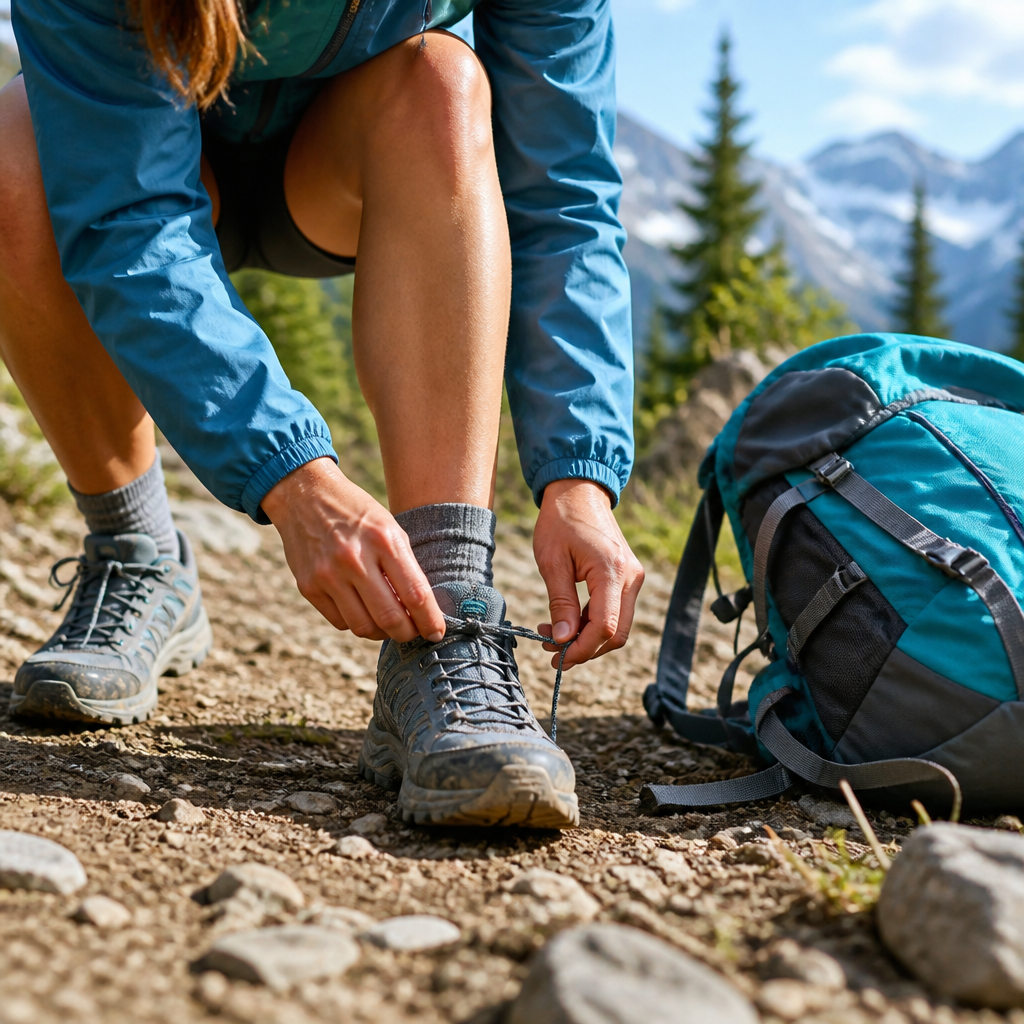
You know the feeling. That tiny, warm spot on your heel, five miles into a fifteen-mile day. You try to ignore it, shifting your weight, adjusting your stride. But it’s no use. The small annoyance grows into a nagging pain, then a sharp, searing burn with every step. By the time you finally limp back to the trailhead, that little hotspot has become a trip-ruining, fluid-filled blister.
It’s the most common—and most preventable—injury in the outdoors. But you’re done letting a simple skin issue derail your ambitious plans. This is the year you solve blisters for good. This guide is your proactive plan, built on decades of collective trail wisdom, to make blisters a thing of the past.
TL;DR: Your Blister-Free Cheat Sheet
The Short Version: Perfect-fitting boots are non-negotiable. Pair them with quality merino wool or synthetic socks (never cotton). Before you hike, tape known problem spots with Leukotape P. On the trail, stop and fix any "hotspot" the second you feel it. Keep your feet as dry as possible by airing them out and swapping socks.
Why Blisters Form: The Friction Triangle
Understanding your enemy is the first step to defeating it. A blister is your body’s defense mechanism. When a specific spot on your skin is subjected to repetitive stress, the layers of skin begin to separate. Your body floods the area with fluid (serum) to cushion the damaged tissue underneath. The three forces that create this perfect storm are known as the Friction Triangle:
- Friction: This is the obvious one. It’s the rubbing of your sock or boot against your skin. A poor boot fit, a seam inside your shoe, or a wrinkled sock are all common culprits.
- Moisture: Wet skin is soft skin. Whether from sweat, a creek crossing, or rain, moisture dramatically weakens your skin's integrity and makes it far more susceptible to damage from friction.
- Heat: Hot feet swell and sweat more, increasing both pressure and moisture inside your boot. This creates an ideal breeding ground for blisters.
To prevent blisters, you must systematically dismantle this triangle. Here’s how.
Step 1: Dial In Your Footwear System
This is the foundation of blister prevention. You can't out-tape a bad boot fit. Getting your footwear system right before you even think about the trail is 80% of the battle.
H3: Get the Right Fit (It's Non-Negotiable)
Your everyday shoe size is just a starting point. Hiking footwear fit is a science. Go to a reputable outdoor store with knowledgeable staff. Go in the late afternoon when your feet are naturally swollen. Wear the type of socks you plan to hike in. A good fit means your heel is locked in place with no slipping, but you have enough room to wiggle your toes freely. When walking down an incline ramp in the store, your toes should not slam into the front of the boot.
H3: Choose the Right Sock
Cotton is rotten. It absorbs sweat, holds it against your skin, and loses all cushioning power. This makes it the #1 worst fabric for hiking. Instead, choose socks made from:
- Merino Wool: The gold standard. It’s breathable, wicks moisture, regulates temperature (warm when wet), and is naturally odor-resistant. Brands like Darn Tough and Smartwool are trail-proven mainstays.
- Synthetics: Polyester or nylon blends are also excellent. They are durable, dry extremely fast, and are often more affordable than wool.
Pay attention to cushioning. Some hikers prefer thin, minimal socks for better trail feel, while others need plush cushioning for long days under a heavy pack.
H3: Consider Liner Socks
For the perpetually blister-prone, a two-sock system can be a game-changer. You wear a very thin, snug-fitting liner sock directly against your skin, with your regular hiking sock over it. The theory is that any friction now occurs between the two sock layers, not between the sock and your skin. Injinji makes excellent toe-sock liners that also prevent blisters between your toes.
H3: Break In Your Footwear
Never, ever wear brand-new boots or trail runners on a long hike. Start by wearing them around the house, then on short walks around the neighborhood, gradually increasing the distance and adding a weighted pack. This allows the shoes to mold to your feet and helps you identify potential hotspots before they become a real problem.
Step 2: Master the Pre-Hike Prep
What you do the morning of your hike can set your feet up for success.
H3: Trim Your Toenails
Long toenails can press against the front of your boot on descents, causing immense pain, blackened nails, and blisters under the nail bed. Trim them short and file any sharp edges a day or two before your hike.
H3: Pre-Tape Your Problem Areas
If you have known trouble spots—your heels, the side of your big toe, the balls of your feet—don’t wait for them to get hot. Tape them before you even put your socks on. The undisputed champion for this is Leukotape P. It's a ridiculously sticky, durable athletic tape that stays put for days, even when wet. Apply it to clean, dry skin, and round the corners with scissors to prevent peeling.
H3: Apply a Lubricant or Powder
Some hikers swear by applying a lubricant to reduce friction. Products like Trail Toes or even basic Body Glide can work wonders. Others prefer powders like Gold Bond to help keep feet dry. Experiment to see what works for your skin and climate.
Step 3: Manage Moisture and Friction on the Trail
Your job isn't done when you hit the trail. Staying vigilant is key.
H3: Air Out Your Feet
On any hike longer than a couple of hours, make a point to take your boots and socks off during your main rest break. Let your feet air dry for 10-15 minutes. It feels incredible and allows your skin to dry and recover. Prop them up to help reduce swelling.
H3: Swap to Dry Socks
This is an ultralight backpacker's favorite trick. Always carry at least one spare pair of hiking socks. Halfway through a long, sweaty day, swapping into a fresh, dry pair is a massive morale booster and a powerful anti-blister tactic. You can even strap the wet pair to the outside of your pack to dry as you walk.
H3: Perfect Your Lacing
Your laces aren't just for keeping your shoes on. Different lacing techniques can solve fit issues. If your heel is slipping, learn a "heel lock" or "surgeon's knot" to cinch the ankle area without strangling the rest of your foot.
Step 4: Address Hotspots Immediately
If you only remember one thing from this article, make it this: Stop the instant you feel a hotspot.
A hotspot is the precursor to a blister. It's that warm, tender, or rubbing sensation. It is a warning. Ignoring it is the single biggest mistake hikers make.
When you feel one:
- Stop. Immediately. Don't tell yourself you'll deal with it at the next break or at the summit. Stop now.
- Take off your boot and sock.
- Assess the area. Is it just red and irritated? Is the skin wrinkled from moisture?
- Dry the skin completely.
- Apply tape. Cover the hotspot and a generous border of healthy skin around it with Leukotape or moleskin. Make sure the tape is smooth, with no wrinkles. The tape provides a protective, low-friction layer between your skin and your sock.
- Put your sock and boot back on. Check for any sock wrinkles or debris in the boot, and continue your hike.
Treating a hotspot takes five minutes. Dealing with a full-blown blister can ruin your entire day or even your whole trip.
Gear That Helps: Your Blister-Prevention Kit
Here are our top picks for the essential items in your foot-care arsenal. Every hiker should carry a small kit with these basics.
| Gear Category | Our Pick | Why It Works | | :--- | :--- | :--- | | Hiking Sock | Darn Tough Hiker Micro Crew Cushion | The perfect blend of merino wool performance, legendary durability, and just-right cushioning. They wick sweat and last forever. | | Liner Sock | Injinji Liner Crew | By encasing each toe in fabric, these liners eliminate skin-on-skin friction, preventing those nasty between-the-toe blisters. | | Prophylactic Tape | Leukotape P | The stickiest, most reliable tape for blister prevention. Apply it to hotspots before they form. It simply does not come off. | | Foot Lubricant | Trail Toes Anti-Friction Cream | A purpose-built cream designed by ultra-runners. It creates a slick, waterproof barrier that drastically reduces friction. | | On-Trail Treatment | Compeed Blister Cushions | If a blister does form, these hydrocolloid patches act like a second skin, providing padding and promoting faster healing. |
Common Mistakes to Avoid
- Ignoring a hotspot: The cardinal sin. Stop and fix it.
- Wearing cotton socks: They are a sponge for sweat, creating the perfect environment for blisters.
- Hiking in brand-new boots: A recipe for disaster. Break them in thoroughly.
- Improper boot fit: Too big and your foot slides; too small and it creates pressure points.
- Forgetting your foot kit: A small bag with tape, a spare pair of socks, and antiseptic wipes is as essential as water.
FAQ
What’s the absolute best tape for preventing blisters?
For proactive prevention, Leukotape P is the undisputed champion among long-distance hikers. Its rayon backing and aggressive zinc oxide adhesive mean it stays put for days through sweat and friction. For treating a blister that has already formed, a hydrocolloid dressing like Compeed is better, as it won't rip the fragile skin when removed.
Should I pop a blister if one forms anyway?
Most medical advice says no. The fluid-filled sac is a sterile environment that protects the raw skin underneath from infection. If you can, protect it with a donut-shaped piece of moleskin or a Compeed patch and let it resolve on its own. If a blister is so large and tense that it's preventing you from walking, you may need to drain it. To do so safely, sterilize a small needle with flame or an alcohol wipe, prick the very edge of the blister, and gently press out the fluid. Do not remove the roof of skin. Clean the area, apply antibiotic ointment, and cover it securely.
Do liner socks actually make a difference?
For many people, yes. They work by transferring the point of friction. Instead of your boot/sock rubbing against your skin, the outer sock rubs against the liner sock. This is especially effective for hikers whose feet sweat heavily or who are prone to blisters between their toes (where toe-sock liners are a miracle).
How do I know if my hiking boots fit correctly?
A proper fit should feel snug in the heel and midfoot, but have about a thumb's width of space between your longest toe and the end of the boot. Your heel should not lift or slide up and down as you walk. You should not feel any major pinching or pressure points. The best way to ensure a good fit is to be measured by an experienced boot-fitter at an outdoor specialty shop.